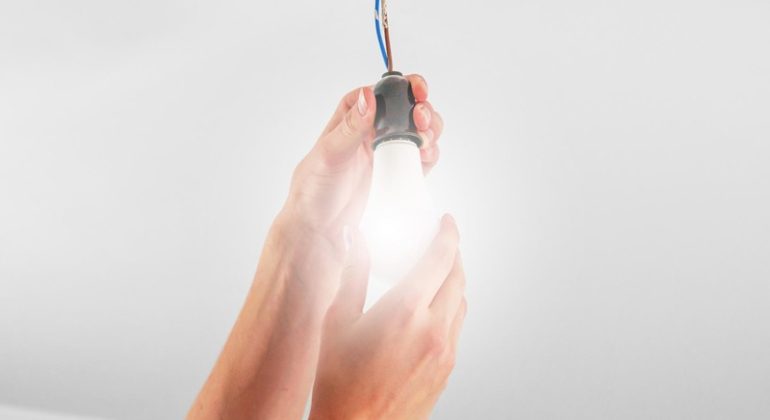
Light fixture installation might seem like a simple DIY task, but in reality, it plays a crucial role in the safety, functionality, and aesthetics of any space. Whether you’re upgrading your kitchen lighting, replacing an outdated chandelier, or adding new fixtures to a renovation project, the process requires careful planning, electrical knowledge, and attention to detail.
Installing a light fixture isn’t just about connecting a few wires—it’s about ensuring proper load distribution, securing the fixture correctly, and aligning it with your room’s design and lighting needs. Mistakes during installation can lead to short circuits, flickering lights, or even serious safety hazards.
In this guide, we’ll explore everything you need to know before and during the installation process.
Before jumping into a light fixture installation, it’s important to go through a pre-installation checklist to avoid common issues and ensure a smooth, safe process.
Always shut off the power at the circuit breaker. Use a voltage tester to confirm there’s no live current at the installation site.
Make sure the existing wires are in good condition and properly labeled. If the wires are frayed or outdated, they should be replaced by a professional.
Ensure your electrical box is securely mounted and can support the weight of the new fixture. Some light fixtures require a special box for proper support.
Each fixture is different. Skimming through the manual can save time and prevent installation errors.
Have all your tools—like screwdrivers, wire nuts, a voltage tester, and a ladder—ready to go before starting.
Double-check that the fixture is compatible with the location (indoor vs. outdoor), ceiling type, and existing switch type (dimmer or standard).
Completing this checklist will help you avoid problems during installation and give you the confidence to proceed with your light fixture installation safely and efficiently.

Installing a new light fixture might seem straightforward, but even small errors can lead to electrical hazards, poor performance, or costly repairs. Here are five critical mistakes to avoid—and what to do instead:
It’s not enough to flip the wall switch. Many DIYers assume the switch cuts off all power, but the wiring can still be live. Always shut off the circuit breaker and use a voltage tester to ensure the wires are completely de-energized.
👉 Pro Tip: Label your breaker panel clearly before starting. It’ll save time and boost safety for future work.
Not all light fixtures can be mounted on standard boxes. For example, ceiling fans and heavy chandeliers need boxes rated for extra weight. Mounting a heavy fixture on a lightweight box can cause it to fall or damage the ceiling.
👉 Pro Tip: Check the fixture’s manual for weight support requirements, and upgrade to a fan-rated box if needed.
Adding a powerful light fixture to a circuit that’s already handling multiple lights or outlets can overload it. This can trip breakers or overheat wires.
👉 Pro Tip: Calculate the total wattage on the circuit. If you’re near the limit, consider moving the fixture to a different circuit or consulting an electrician.
Loose or improperly twisted wires can cause flickering lights, short circuits, or even fires. Many DIYers skip using proper wire nuts or don’t twist wires tightly enough.
👉 Pro Tip: Always use wire nuts and tug each connection gently to make sure it’s secure. If you’re unsure, use push-in connectors rated for residential use.
Failing to connect the ground wire is a common oversight. This puts your fixture and home at risk in case of an electrical fault.
👉 Pro Tip: If the fixture and the box both have ground wires, connect them all together with a wire nut. Use a grounding screw if there’s no ground wire in the box.
By avoiding these mistakes, your light fixture installation will be not only more efficient but also safer and longer-lasting. When in doubt, don’t hesitate to consult a licensed electrician—your safety and your home’s integrity are worth it.

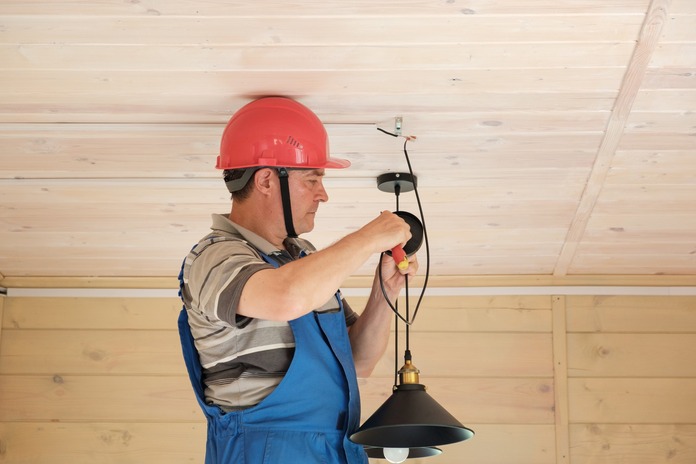
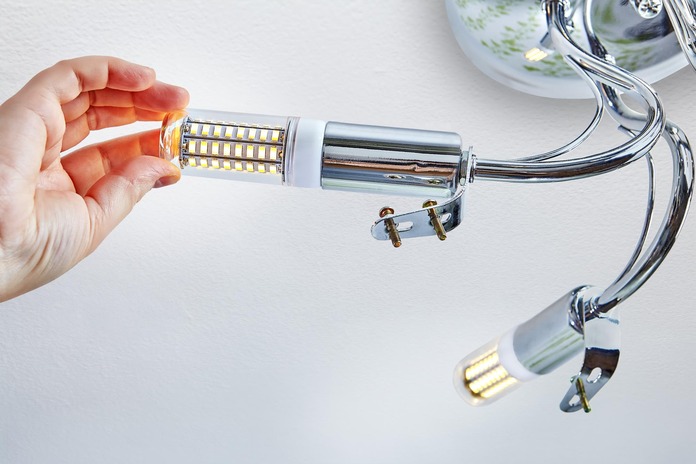
Choosing the right light fixture goes beyond just design—it also affects how the fixture is installed, wired, and supported. Each type has its own technical needs, and understanding these differences ensures a smoother, safer installation.
Light fixture installation often appears simple on the surface. A new sconce here, a modern chandelier there—it all seems like a manageable weekend project. However, beneath the surface lies a complex network of wires, codes, and safety considerations that sometimes go far beyond what a DIY approach can safely handle.
If the project involves altering your home’s electrical wiring—even slightly—it’s no longer just about attaching a fixture. A licensed electrician understands how to evaluate the existing electrical load, identify outdated systems, and ensure the connections meet local building codes. Attempting such work without proper knowledge might not only damage your electrical system but could also pose serious risks like fire hazards or electric shock.
In homes with older wiring setups, such as aluminum wiring or knob-and-tube systems, bringing in a professional becomes even more important. These systems often require specific techniques and safety precautions that aren’t widely known outside the electrical trade. A mistake in this area might not be immediately visible but can result in long-term dangers.
There’s also the question of scale and complexity. High ceilings, heavy light fixtures, or installations that require new circuits or switches are best handled by someone who’s trained and certified. Professionals not only complete the job faster and safer, but they also ensure compliance with inspection requirements—something essential if you’re planning to sell or rent the property in the future.
In short, while light fixture installation can be DIY-friendly in very basic setups, more complex or high-risk scenarios are best left to the hands of a licensed electrician. It’s not just about convenience—it’s about protecting your home, your investment, and your safety.
Proper light fixture installation isn’t just about enhancing the aesthetics of your space—it’s also about ensuring safety, functionality, and long-term performance. Whether you’re installing a simple ceiling light or upgrading to a modern smart system, following the right steps and knowing when to call a licensed electrician can save you time, money, and stress.
Ready to brighten up your space the right way? Don’t take risks with your home’s electrical system. If you’re unsure about the next steps or want expert help, contact a licensed electrician today and get your light fixtures installed safely and professionally.